
 |
| Mine is on the far right, there's much more of me, lol! |
But back to making a paper tape dress form! ...I've been rather quiet on the blog of late as I'm renovating our garden cottage into a space for guests to enjoy a short break from the city. A place to rest, revive and enjoy nature at its best. I am including a Stitch Up History short break package: a weekend, or weekdays, one-on-one master class where you make a period or vintage outfit and enjoy the delights of one of the most well known national parks in Australia, the Blue Mountains National Park, part of the Greater Blue Mountains World Heritage Area; listed for its remarkable geographic, botanic and cultural values, including protecting sites of Aboriginal cultural significance. Come and 'Like' Azure Hills Cottage on FB and be the first to know when Stitch Up History short breaks are advertised.
In-between scrubbing walls clean, painting them and carting furniture in the non stop pouring rain, I had a break! Three friends joined forces to create dress dummies out of paper tape using this tutorial. As fate would have it, it was also a beautifully sunny winters day, which was a delight after the constant rain!
I wore my Regency stays so I could have the right shape for making my gowns. Here are our pictures from the process.
- First put on a long or short sleeved stretch T that you will later cut through, so don't wear your favorite one! If, like me. you are aiming for a particular silhouette, put your chemise and stays on first. I left the chemise off as my T was rather thick.


- It helps if you cut all your paper tape pieces up first, or do it as you go along, either works. We used 1 and a bit rolls of tape for the three of us, this gave us two layers.

Sam ably demonstrating the paper tape 
Refreshment for all but me as going to the loo would be a tad awkward


- Then start placing the pieces onto the victim ... um I mean model :)
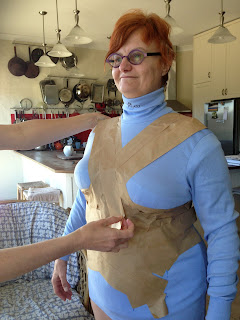
Create a chriss cross foundation to 'lift and seoarate' your 'girls' and put a band right at the base of yout top ribs right around your body 
Do the same for the back


- Dry each layer with a hair dryer before you commence the next, we used two layers of paper tape, you can use three, just don't use too many as you will widen your body shape.

As you can see I've added arms into my body double, useful for ensuring you get the correct armsyce shape for your dresses.

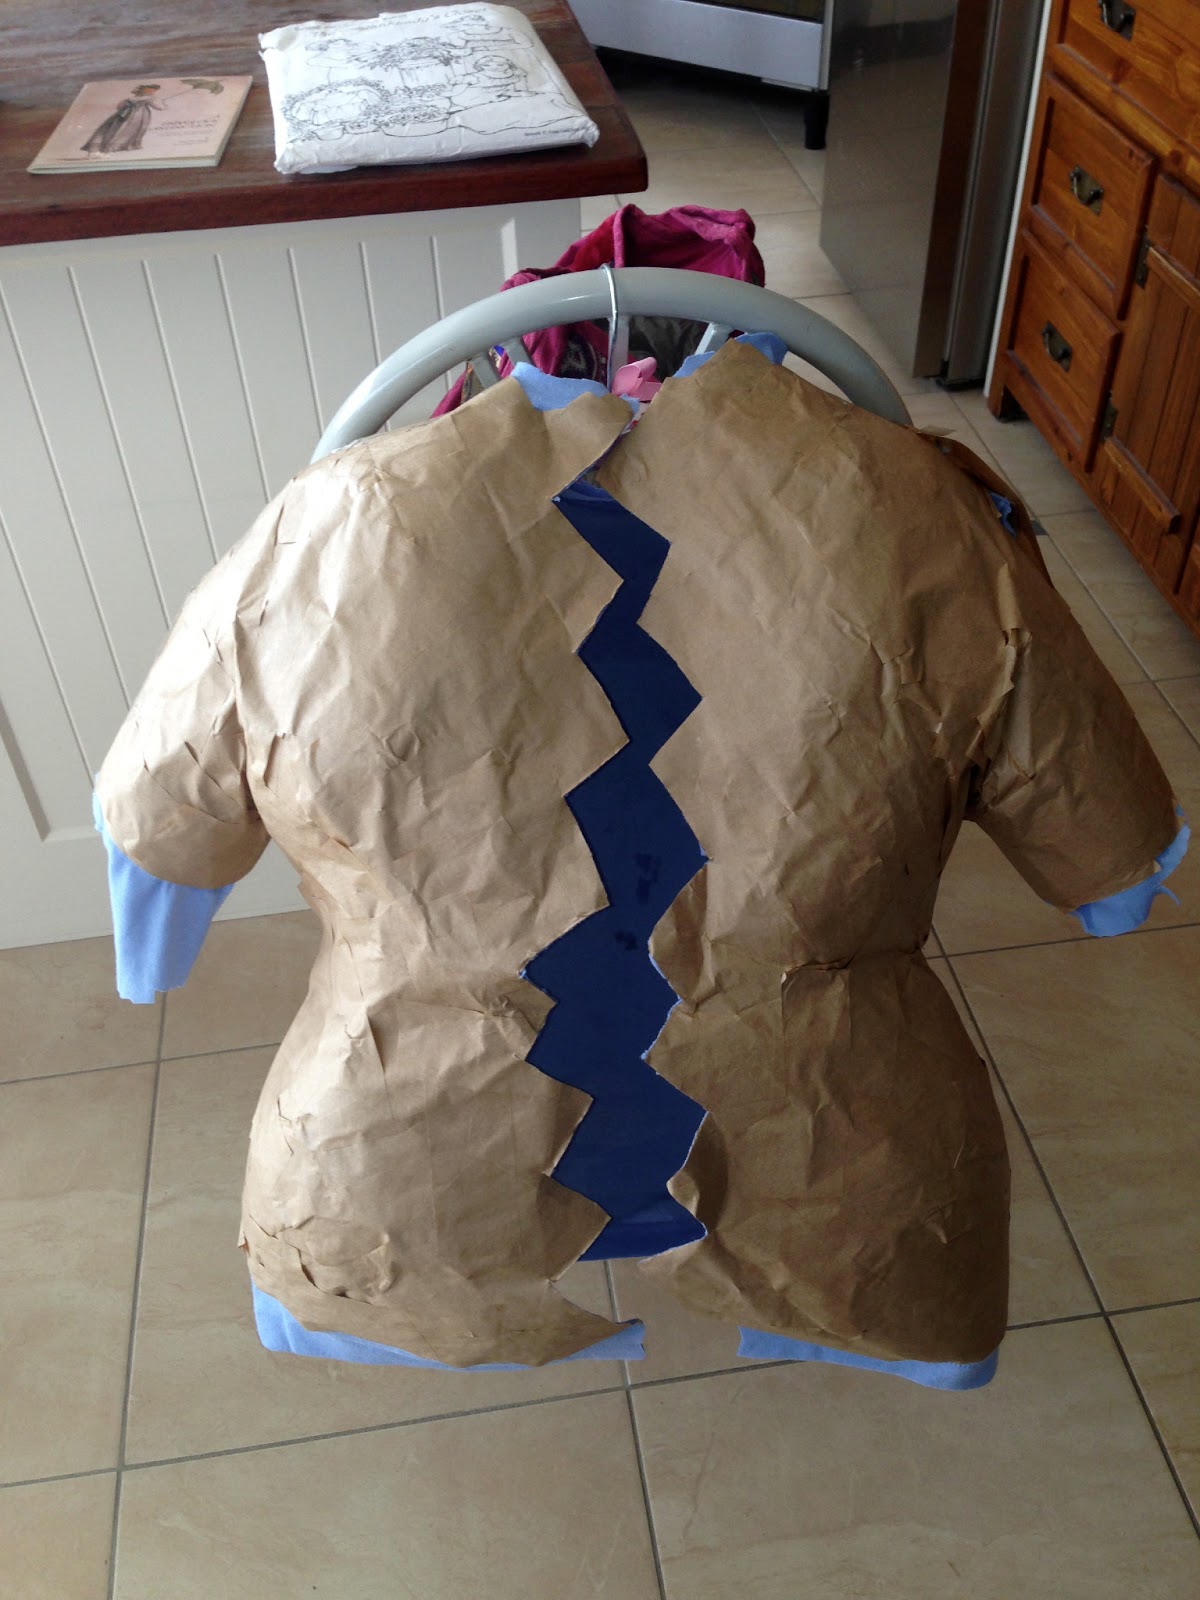
- But how do you then get out of it? First, ensure that the form is dry and hard, then simply cut up the back and along the top of the sleeves, using the zig-zag cut shown below.

Cut up the back of the paper tape shell, try not to cut into your stays or underwear as you do this. 
Do the same on your sleeves to the neck then you can slide out of the form


- Here is my double off the body.


- Turning your double into a dress dummy. This is the next stage and I haven't done it as yet. I'll document it as I do it and post it when completed.

No comments:
Post a Comment
I love to read your comments and thoughts on my posts.